Getting Started
Before you start building courses, you’ll need a few of different tools installed on your machine to create courses for OpenGolfSim. We recommend grabbing and setting up all these tools before you start. Don’t worry if you’re not very technical, they are all pretty user friendly.
1. Install Unity
We use Unity as our 3D engine and simulator environment. The process for creating OpenGolfSim courses and games uses a specific version of Unity and custom tools to export your course as a Unity asset bundle.
To get started, downloaded and install Unity Editor version 6000.2.6f2. It needs to be that specific version of Unity, or the built course may not work correctly. You can Unity Hub to install specific versions, or directly using the link below.
Download Unity Editor 6000.2.6f2
Note: We are looking into upgrading to
6000.3soon, now that Unity has dropped official support for6000.2.
2. Install Project Template
Next, download our Unity project template from our github repository and add it as a new project in Unity.
OpenGolfSim Project Template (URP)
While URP is the recommended pipeline template for all new course builds, we do still offer an HDRP-based template for more advanced users that only want to create courses for Mac & PC.
Adding the project to Unity Hub
- Download the project template zip
- Extract files to a new folder on your computer with the name of your course/project
-
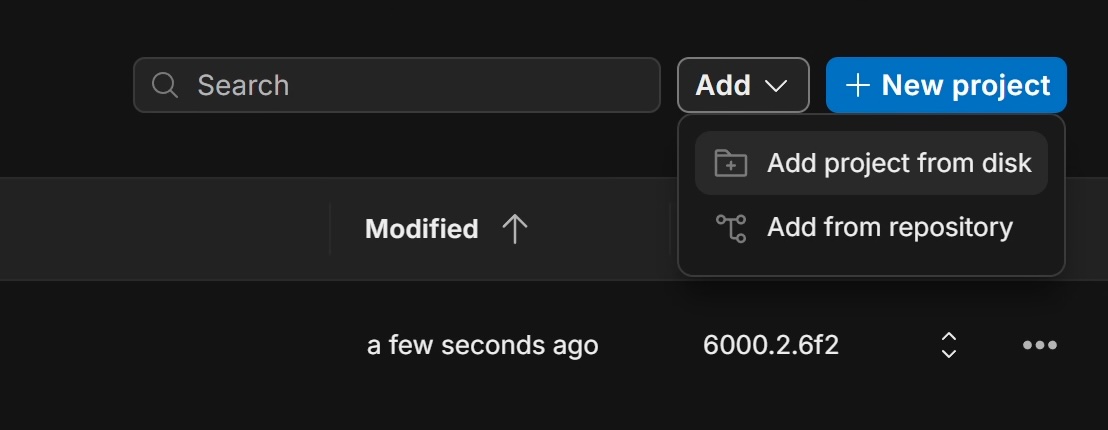
Open Unity Hub and in the top-right select Add > Add project from disk
- Select the extracted project folder
- You should now be able to open the empty template project. The first time you launch it, it will take a minute to install the required packages and tools.
3. Install Inkscape
Inkscape is a free vector graphics editing program. We use it to layout the course using the pen tool to create vector paths that represent features like fairways, greens, tee boxes, etc.
Setup the OGS Color Palette
You’ll need the official OGS color palette installed in Inkscape so you can set shapes to the correct color codes.
-
Download the latest OpenGolfSim color palette:
Download OGS Color Palette.gpl
Right-click the download button and select Save Link As…-
Save the file to your local machine with a name like
OGS Color Palette.gpl -
Place the file into the user palettes folder, which can be found via Edit > Preferences > System > User Palettes
-
4. Install Course Terrain Tool (optional)
Course Terrain Tool is an open-source tool created by OpenGolfSim to source and process real-world lidar point-cloud data into usable terrain data for your golf course. It also downloads and processes satellite and hill-shade imagery to aid in course design.
5. Install Course Meshery
Course Meshery is an open-source tool created by OpenGolfSim to generate course meshes from SVG and raw terrain data files.
Course Building Videos
Check out our playlist of how-to videos for our course building process.