DIY Golf Simulator Button Box
After seeing a few other cool DIY boxes online, I decided to try my hand at building my own floor button box for my golf simulator. I had some spare arcade parts leftover from a previous project. So after a couple quick cuts and drilling a few holes, I had a prototype button box of my own.
The box connects to the PC via an arcade USB encoder (I’d love to upgrade to a wireless version soon). It appears on the PC as a joystick device, not a normal keyboard. So I needed to write a few scripts and tools for connecting the buttons with actions on the sim. (That’s actually when OpenGolfSim was born!)
Building the Box
Building the box is fairly easy, you could use anything from some cardboard to something crafted out of burled walnut. Mine fell somewhere in the middle. I used some spare furring strips and chip-board I had laying around.
Bill of Materials
| Qty. | Item | Price |
|---|---|---|
| 1 | Arcade USB Encoder | $12.88 |
| 1 | 30mm Arcade Buttons | $12.99 |
| 1 | 25ft USB Extension Cable | $14.99 |
| Total (before tax) | $40.86 |
Steps
-
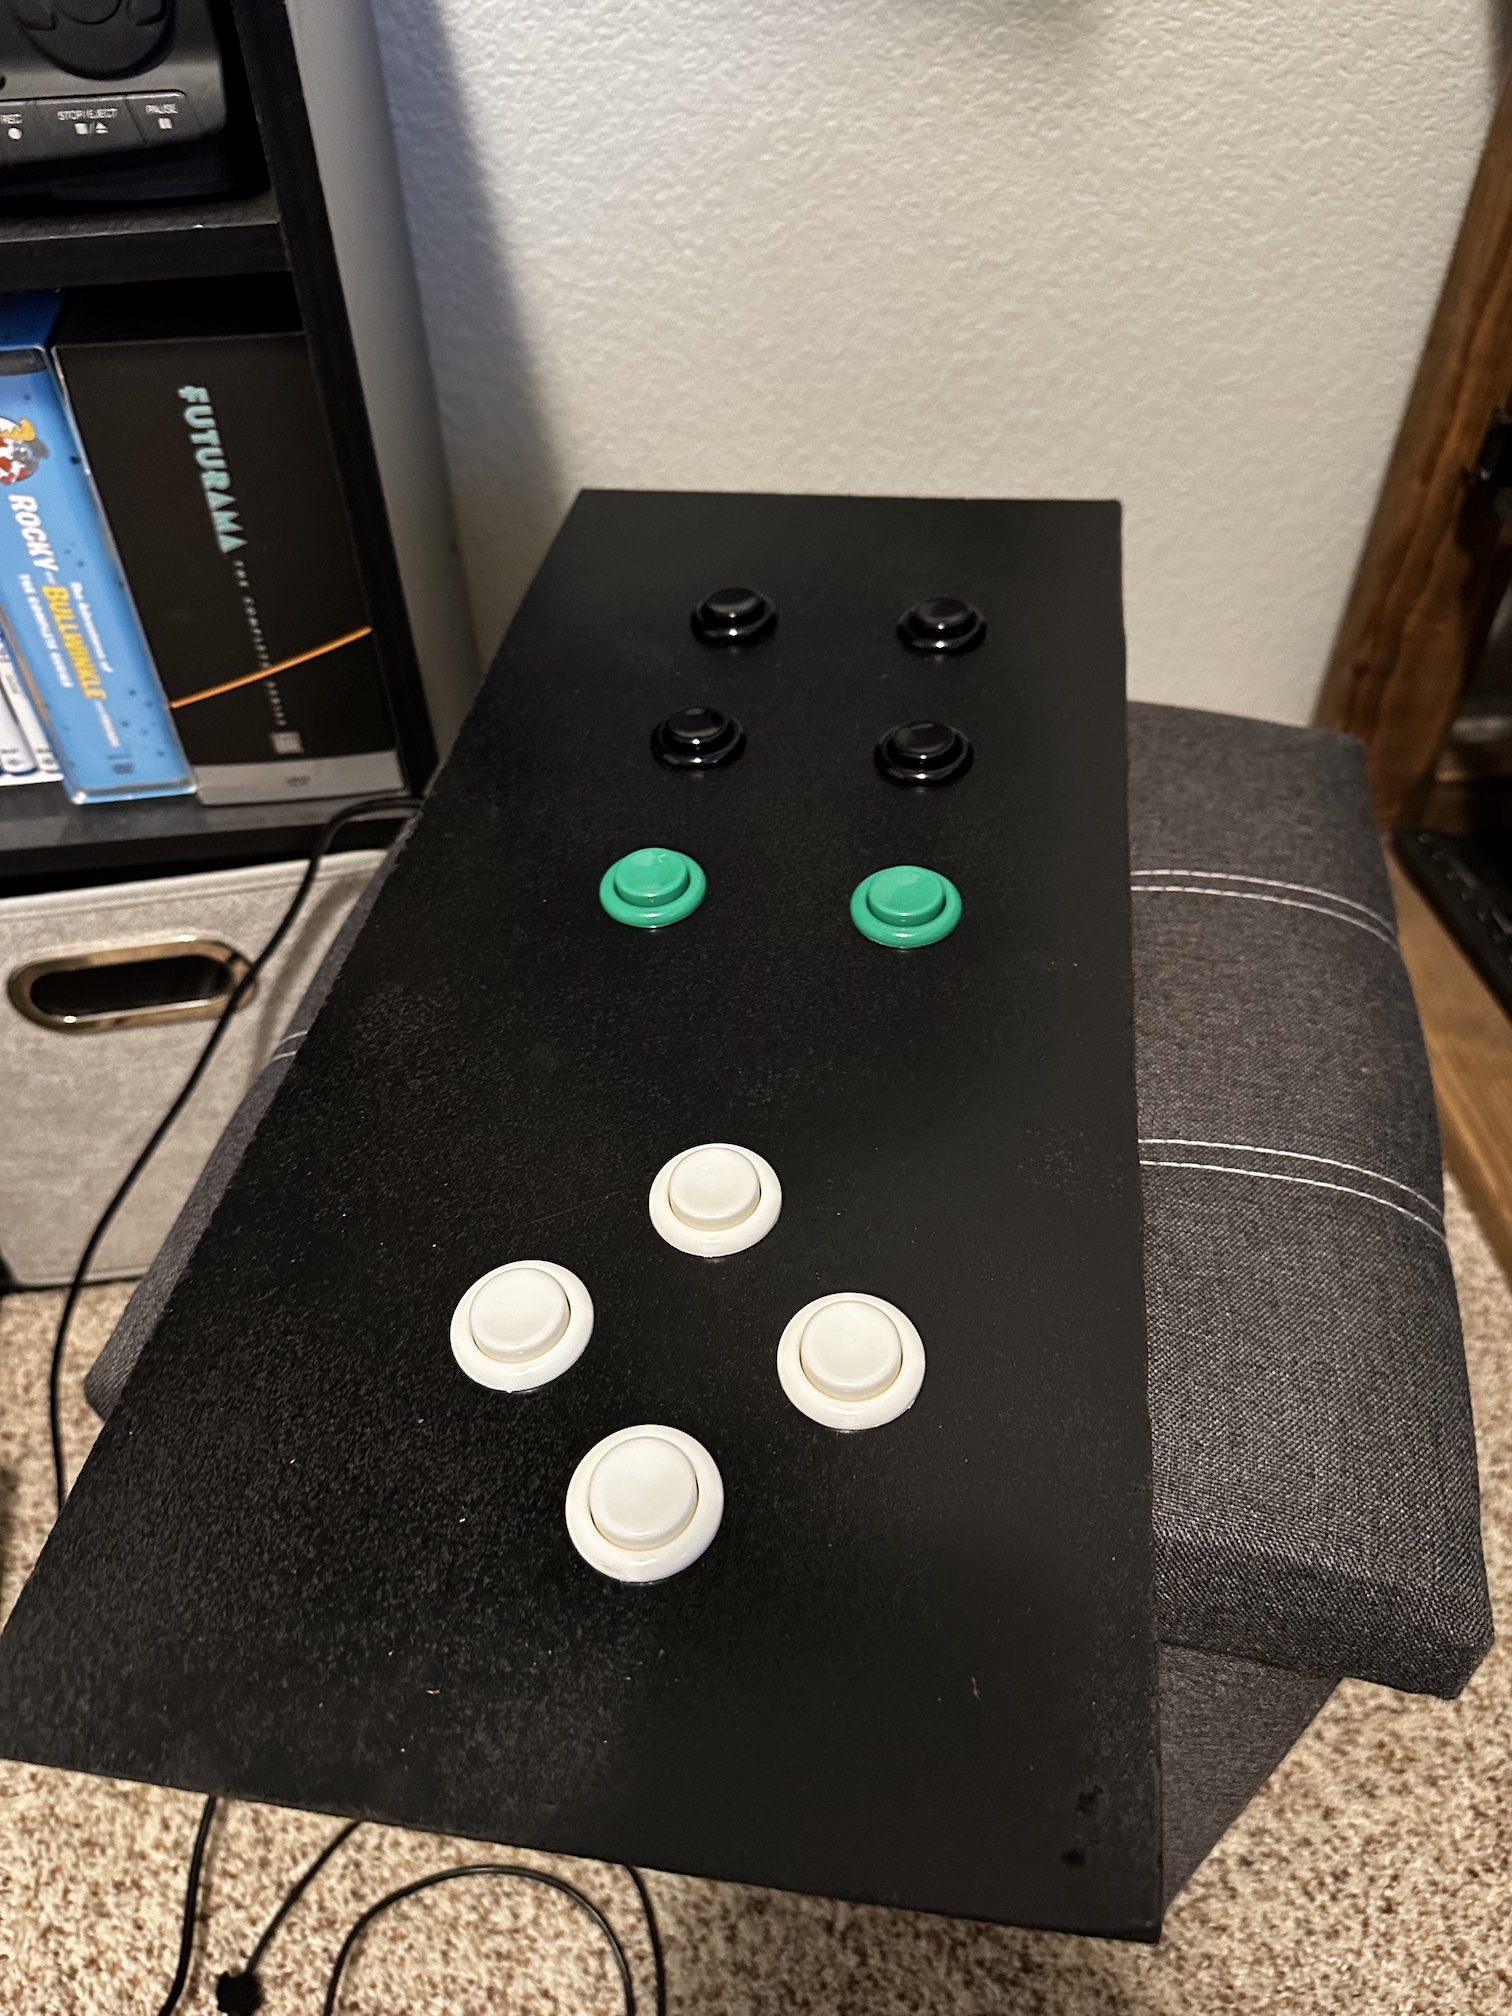
You’ll first need to determine which actions you’ll want easy access to, so you know how many holes to place on the board. I decided on 4 arrow buttons to move the aim point, and 6 other function buttons that I would program later.
- Left/Right/Down/Up
- Mulligan (most used button by far)
- Flyover
- Map - Show/hide the hole map
- Drop
- Rehit
- Next/Prev Player
-
Use a measuring tape and pencil to create a grid on the plywood to accommodate your button layout. (e.g. If you want 8 buttons total, you could lay them out in a 2x4 grid.) You’ll need to drill
28mm(~1 ⁷/₆₄ inches) holes into your box to fit the arcade buttons to the box. So space your grid out into at least ~2 inch squares, more if you want more space between your buttons. -
Once you’ve marked your button locations, drill out your holes using a spade bit or hole saw.
-
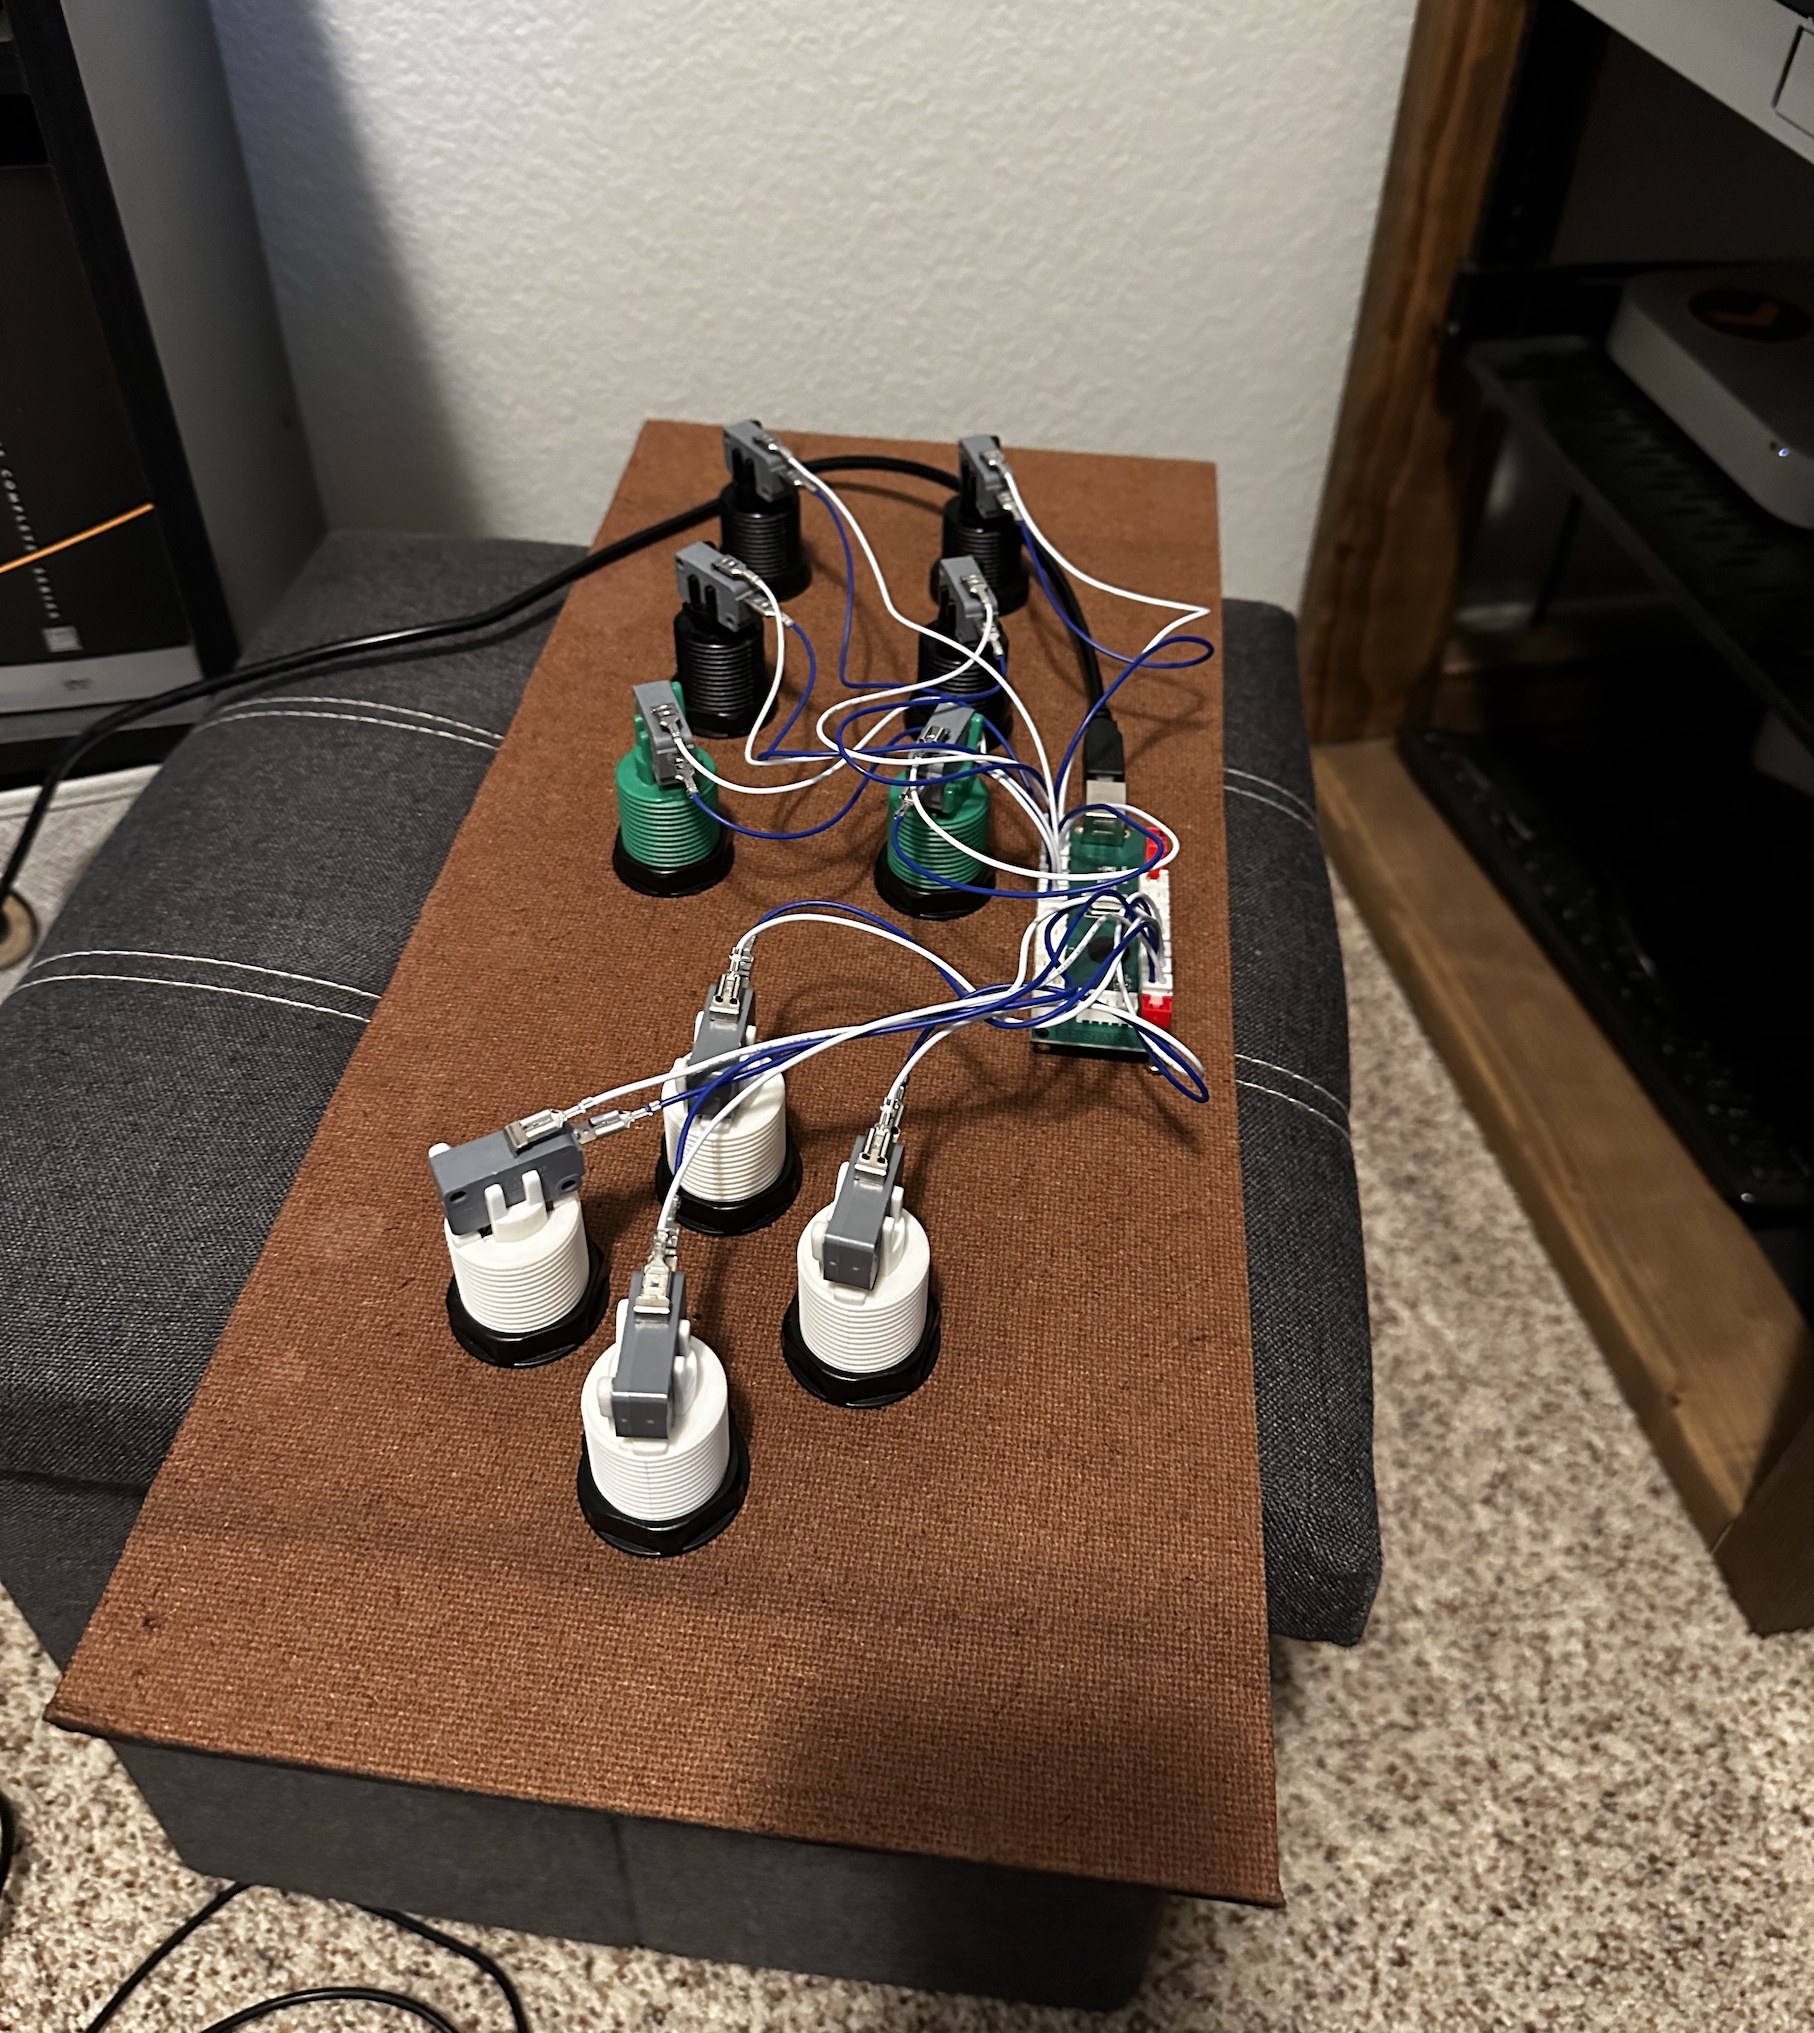
Attach your buttons to the board by unscrewing the nuts, threading the button through the hole, and tightening the nut from the other side.
-
Attach the included blue and white wires to each button terminal. It shouldn’t matter which color is on which terminal, since all the button does is open and close the circuit, but I like consistency, so I made sure to keep one color always on the bottom. Up to you.
-
Attach your up/down/left/right buttons to the up/down/left/right slots on the usb encoder board. These slots act as your “joystick” control.
-
Attach the other buttons to the usb encoder board slots K1-K12. These are for any type of push button.
-
Plug the usb encoder into your computer and launch our OpenGolfSim Desktop app to setup your box.